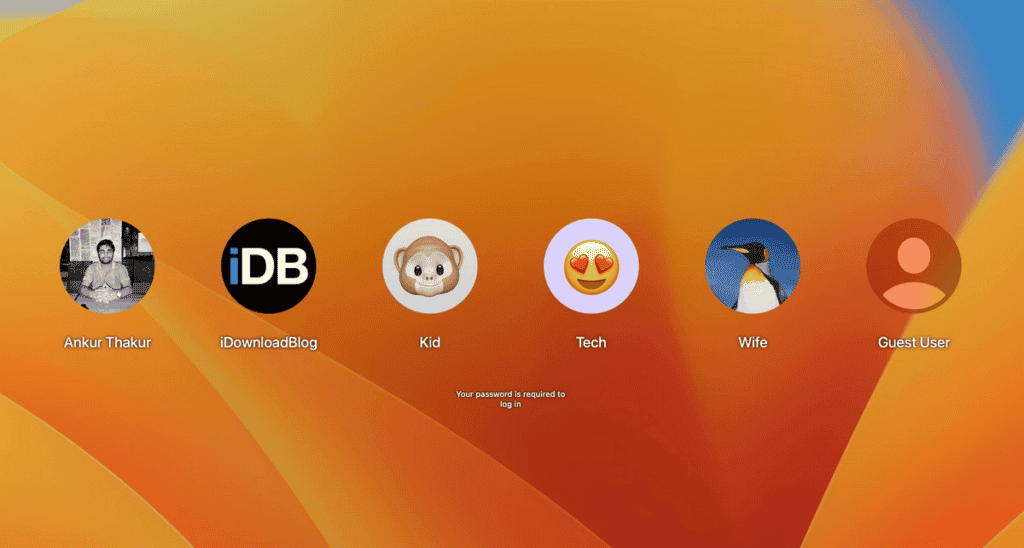
Every time you access your Mac, that circular login picture serves as a visual gateway to your digital world, offering a personalized touch amidst the login process. It’s not just a functional element but a glimpse into your digital identity, representing your presence within the macOS ecosystem.
Customizing this login image adds another layer of personalization to your Mac experience. By selecting from your photos, you infuse your login screen with memories, moments, and sentiments that resonate with you. Emojis add a touch of whimsy and playfulness, injecting personality into the otherwise utilitarian login interface. With Memojis, Apple takes personalization to another level, allowing users to represent themselves with animated avatars that reflect their unique features and expressions. It’s a fun and original way to represent yourself on your PC.
This customization feature isn’t just about aesthetics; it’s about creating a sense of ownership and belonging within the digital realm. It’s a subtle yet meaningful way to make your Mac truly yours, transforming it from a generic device into a personalized space that reflects your individuality and preferences. Whether it’s a favorite photo, a beloved emoji, or a custom Memoji, the login image serves as a visual reminder of who you are and what makes your Mac experience uniquely yours.
If you’re eager to infuse your Mac login with a personal touch, we’ve crafted this comprehensive guide to walk you through the process of adding a customized login image to your macOS profile.
How to Change Login Picture on macOS
Switching up your login picture not only adds a touch of personality to your lock screen but also fosters a sense of ownership and individuality. Plus, it’s a thoughtful gesture for other users, ensuring they see their preferred image upon signing in.
- Step 1: Launch System Preferences either from the Dock or by clicking the Apple icon in the Menu bar.
- Step 2: Navigate to Users & Groups, where you’ll find the settings for managing user accounts and login preferences.
- Step 3: From the list of user accounts, select the one you wish to customize.
- Step 4: Locate the current login picture associated with the selected user. When you hover your cursor over the picture, you’ll notice an “Edit” option appear, indicating that you can modify the image.
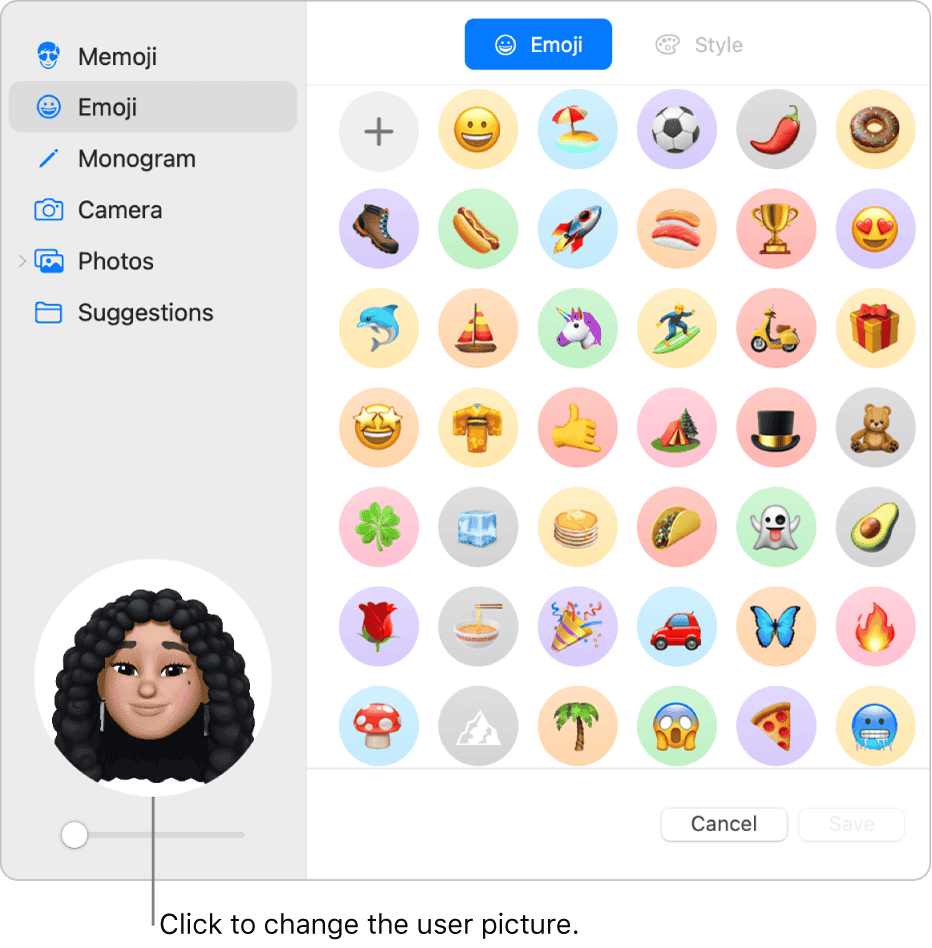
Step 5: A window will appear with various picture options for you to choose from. You can opt for a current Memoji or create a new one using the Plus sign. With the Memoji, customize facial expressions and background colors to your liking through the Pose and Style tabs.
Emojis: Alternatively, select from a range of popular emojis or explore the full selection by clicking the Plus sign. Adjust background colors for emojis using the Style tab.
Monogram: If you prefer a monogram, simply choose a color from the available options.
Camera: To capture a new image using your Mac’s camera, select the Camera option. Position your face within the circular frame and capture the image using the Capture button. You can then decide whether to save or discard the photo.
Photos: You can also select pictures from your Photos app, either from your Favorites or a specific album.
Suggestions: For those seeking inspiration, explore the Suggestions section, where default images such as flowers, sports, animals, and symbols are available for selection.
Gizchina News of the week
- Step 6: Once you’ve chosen your desired picture, its preview will appear in the bottom-left corner of the window. Use the slider to adjust the zoom level, ensuring the perfect look for your login picture.
- Step 7: After finalizing your selection, click “Save” to apply the changes. You can then close the System Preferences window by clicking the “X” on the top left corner.
Changing Login Screen Background
Changing the login screen background in macOS allows for a complete customization of the login experience. To initiate this process, navigate to System Preferences and access the Wallpaper settings from the left-hand column of options.
Once in the Wallpaper settings, you have the choice to select from the pre-installed images provided by macOS or upload your own by clicking the “Add Photo” button. This flexibility allows you to tailor the login screen background to your personal preferences, creating a visually appealing and welcoming entry point to your Mac’s interface.
When it comes to changing your login password in macOS, the process is straightforward. Begin by accessing System Preferences, then navigate to Users & Groups. Here, you’ll find the settings related to user accounts and login credentials.
Changing the Password
To change your login password, simply click on the Info button next to your username. From there, select the “Change Password” option to initiate the password-changing process. Alternatively, if you have administrative privileges, you can click “Reset Password” to modify the login credentials of another user account on the system.
By providing easy access to password-changing settings within System Preferences, macOS ensures that users can efficiently manage their login credentials, maintaining the security and integrity of their accounts.

Change Profile Picture in Windows 11
Customizing your profile picture in Windows 11 adds a personal touch to your user account, regardless of whether you use a Microsoft account or a local account. While Microsoft accounts automatically sync with your online profile picture, local accounts are assigned generic images by default. Fortunately, changing your profile picture is a simple process that allows you to display an image of your choice.
Here’s a step-by-step guide to changing your profile picture in Windows 11:
- Step 1: Click on the Start button in the taskbar to open the Start menu.
- Step 2: Select your user profile icon or name located at the top of the Start menu. This will open the Account settings.
- Step 3: In the Account settings window, click on “Change account settings.”
- Step 4: Under the “Your info” section, you’ll see your current profile picture displayed. Click on the “Browse for one” button below the picture.
- Step 5: A File Explorer window will appear. It allows you to navigate to the location of the image you want to use as your profile picture. Select the desired image file and click “Open.”
- Step 6: Once you’ve selected the image, you’ll have the option to adjust the cropping by clicking on “Adjust.” Use the handles to resize and reposition the image as needed, then click “Apply.”
- Step 7: Finally, click “Save” to confirm your changes and set the new profile picture for your Windows 11 account.
By following these simple steps, you can easily personalize your Windows 11 experience by changing your profile picture to reflect your unique style and personality.
Conclusion:
In conclusion, both macOS and Windows 11 offer users the ability to personalize their computing experience by changing their profile pictures. In macOS, users can easily customize their login images and backgrounds, adding a touch of individuality to their Mac environment.
On Windows 11, users can similarly personalize their user accounts by changing their profile pictures, whether they use a Microsoft account or a local account. By following the simple steps outlined in each operating system, users can express their personalities and preferences. Therefore, it improves the computing experience and makes the experience more enjoyable. Ultimately, the ability to change profile pictures in both macOS and Windows 11 enhances user engagement and allows for a more personalized computing environment. When it comes to originality, we have to say that macOS takes the edge for allowing you to create unique emojis to add personality to your OS.