
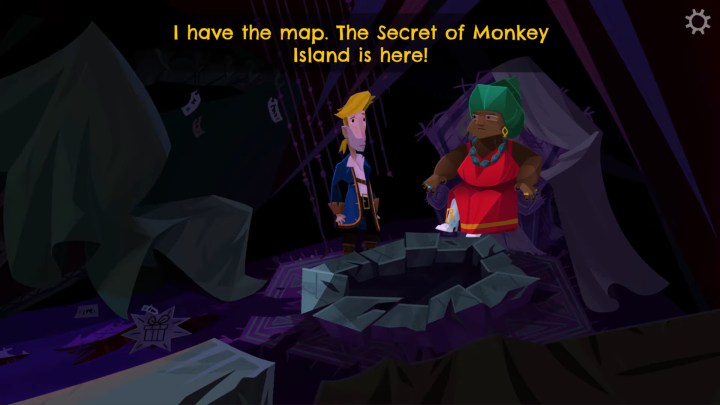
In the fourth act of Return to Monkey Island, you, in a twist of fate, leave Monkey Island to where the secret of Monkey Island really is. The map has pointed you back to where your adventure began, but just because you know where the secret is doesn't mean it's going to be simple to get. In fact, this might be the toughest part of your journey yet. As soon as you follow your map to the Voodoo Lady, you'll learn exactly what stands between you and the secret.
The secret is there in the International House of Mojo but locked away in a safe — a magic safe that can't be moved and that requires five keys to open. You are given some help in tracking down these five golden keys from Widey Bones, but actually acquiring them will require plenty of good ol' adventure game logic and puzzle solving. To get your hands on all of these keys and crack open this safe, here's how to get all five golden keys in Return to Monkey Island.
Preparation
Despite knowing who has the golden keys, there are some items and places we need to visit first before we'll be able to find and actually get these keys. Here's all the prep work you need to do first.
Step 1: Head to the Maps-n-More.
Step 2: Ask Wally for a map of the sea.
Step 3: Go to High Street and into the Fish Shop.
Step 4: Examine and ask about the red flag.
Step 5: Ask to join the Chums and get the fishing lure.
Step 6: Talk to the pirates in the shop and exhaust all their dialogue.
Step 7: Head to the Scumm Bar and show the fishing lure to the pirate sitting outside.
Step 8: Say anything but the option involving the manatee to learn how to set up a story.
Step 9: Take the green drink she has.
Step 10: Return to the fishing shop and talk to the pirates again.
Step 11: Drink the drink you took to win the belching contest and get the blowfish.
Step 12: Navigate over to the locksmith.
Step 13: Show her your fishing lure and learn how to end a story.
Step 14: Exhaust all her dialogue to learn her golden key was destroyed and to get a probate order.
Step 15: Leave the locksmith and make your way to the jail.
Step 16: Talk to Otis and ask where Stan is.
Step 17: Exit the jail and return to your ship.
Step 18: Sail to Scurvy Island.
Step 19: Once you arrive, go to the island interior and find the camp.
Step 20: Examine the desk and take the framed torn picture and note.
Step 21: Leave the camp and head southeast.
Step 22: Find the seagull and examine its nest to find the other half of the picture (though you can't take it just yet).
Step 23: Read the note to find Elaine (the directions will be different for every playthrough).
Step 24: Ask her about both her project and the picture to get the scurvy flyer.
Step 25: Ask her if you can take some of her limes.
Step 26: Show her your fishing lure to get another lesson in storytelling.
How to get Mrs. Smith's golen key
We will still have a few odd detours here and there, but we can now start collecting keys as we go, starting with Mrs. Smith's.
Step 1: Go back to your ship and sail to Brrr Muda.
Step 2: You'll be interrupted on the way but allowed to pass if you have the limes and say you're not a pirate on the forms.
Step 3: Once you land, go left to the courthouse.
Step 4: Give the judge the probate order to get Mrs. Smith's gold key.

How to get the Brrr Muda golden key
Of all the golden keys, this one is the most complex and time-consuming to get, so buckle in for a serious set of trials.
Step 1: While still on Brrr Muda, go to the ice quarry on the bottom-left side of the island.
Step 2: Show the guard your fishing lure and learn about angling terminology in storytelling.
Step 3: Ask about entering the quarry and say you want to see Stan.
Step 4: He won't let you in now — head to the ice castle instead.
Step 5: Inside, examine the firewood before talking to the queen and take the matches.
Step 6: Talk to the queen to be given three challenges: heartiness, intelligence, and seriousness.
Step 7: Go to the town hall again and up the stairs.
Step 8: Put the firewood in the fireplace and light it with your matches.
Step 9: Start the intelligence challenge by ringing the triangle.
Step 10: Let the melting icicle distract the queen and swap the test papers to win.
Step 11: Now head to the room on the left for the contest of heartiness.
Step 12: Read the sign to learn the fish of the day — you can't start the challenge without it.
Step 13: The room in the back has the final challenge, but you can't do anything there yet either.
Step 14: Go to your ship and sail to Melee Island.
Step 15: Dock next to LeChuck's ship and see if the coast is clear.
Step 16: Hop on LeChuck's ship and talk to Apple Bob.
Step 17: Show him your fishing lure and learn to add descriptions to stories.
Step 18: Go back to your ship and disembark on Melee Island.
Step 19: Go to the fish shop and show the owner your lure.
Step 20: Tell him a story using all the lessons you learned to get the Bella Fisher flag.
Step 21: Also grab whatever the fish of the day is for the challenge.
Step 22: Next stop is the governor's mansion.
Step 23: Ask Carla to borrow a book — she'll want the one you borrowed earlier back first.
Step 24: Ask the chef at the Scumm Bar for it back, but get refused.
Step 25: Return to Carla and ask about all the people outside.
Step 26: Ask if you can have some of the disaster relief to rebuild local businesses.
Step 27: Take the IOU to the Scumm Bar and trade it for the book.
Step 28: Give it back to Carla and get another book.
Step 29: Make a pit-stop at Stan's shipyard and grab the picture and toothbrush.
Step 30: Visit the museum and examine the other Bella Fisher flag.
Step 31: Use the key from act 2 to open the case.
Step 32: While the curator is distracted folding the flag up, go inside the store room and steal another flag.
Step 33: Back on LeShip, get back to Apple Bob and trade books with him.
Step 34: Stop by the galley and steal some demon pepper.
Step 35: Sail to Scurvy Island.
Step 36: Go back to the seagull.
Step 37: Combine your fish with the demon pepper and use it to distract the seagull.
Step 38: Take the torn picture.
Step 39: Make a another stop back at the fish shop to restock on fish before going to Brrr Muda.
Step 40: Return to the quarry and combine the picture from the shipyard with Stand and Guybrush pictures.
Step 41: Show the picture to the guard to get inside.
Step 42: Ask Stan if you should break him out and get the judge's order.
Step 43: Give Stan the scurvy flyer.
Step 44: All the way back at town hall, go to the back room for the seriousness contest.
Step 45: Ring the triangle.
Step 46: Don't laugh at the queen's joke.
Step 47: Use the joke book and pick any joke to win.
Step 48: Return to the room on the left where you saw the fish of the day.
Step 49: Put the fish in the bucket and use demon pepper on it.
Step 50: Ring the triangle.
Step 51: Take another fish from your inventory and sneak it onto your plate to win.
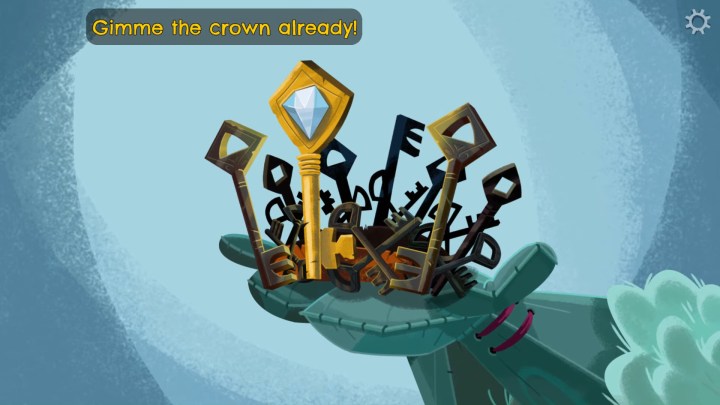
Step 52: The queen will give you a crown and the second key.
How to get Bella Fisher's golden key
We've already done most of the legwork for this key, but there's still quite a bit of running around to do.
Step 1: Go to Scurvy Island and ask Elaine to come with you to the Ice Quarry (she won't).
Step 2: Sail to Barebones Island.
Step 3: Ask Ned who he's hiding from.
Step 4: Show Ned the judge's order and get papers to bring to the judge.
Step 5: Combine the license in the documents with the framed picture and Guybrush's picture.
Step 6: Show this to the judge and he'll change the order.
Step 7: Bring the new orders to Stan.
Step 8: Use your double monocle to examine Stan's shackles.
Step 9: Take the serial number all the way back to the locksmith on Melee Island.
Step 10: Get the key.
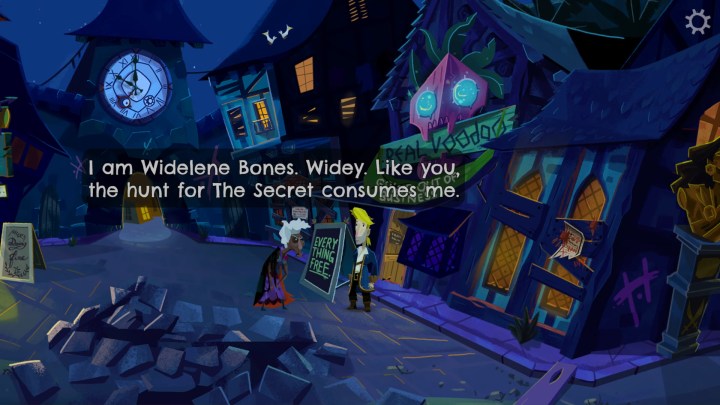
Step 11: Stop off at Widey Bones and talk to her and learn someone stole her key.
Step 12: Go back to Stan and release him (you will be taken to Scurvy Island automatically).
Step 13: Pick up the pamphlet and leave Scurvy Island.
Step 14: Sail to the ship southeast of the island.

Step 15: Give them the improved scurvy flyer Stan made.
Step 16: Grab their Bella Fisher flag.
Step 17: Combine the three Bella Fisher flags in your inventory and use them on your map.
Step 18: Travel to the location shown.
Step 19: Blow up your blowfish.
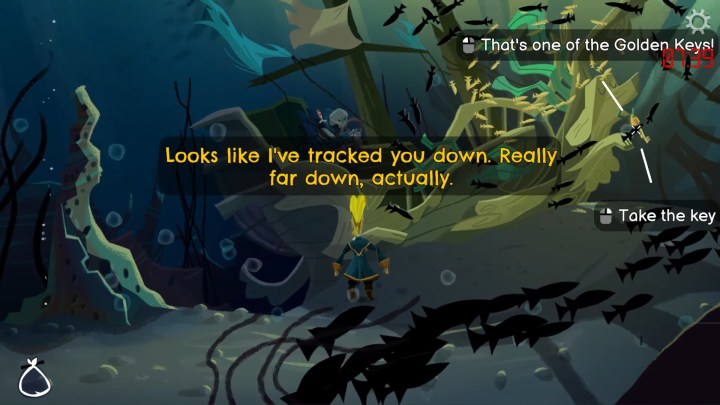
Step 20: Dive into the water and head right.
Step 21: Take the golden key off the right end of the ship.
How to get Widey Bone's golden key
We already learned that Widey Bones lost their key, so it's time to track it down.
Step 1: Sail to Terror Island.
Step 2: Go east to the unlucky place and grab a key off of the skeleton.
Step 3: Go to the mysterious clearing and find the skeleton to the right.
Step 4: Pick up the nearby lamp.
Step 5: Go east to the twisting path until you hit a gate.
Step 6: Use your knife on the sign to remove it and the key to unlock the gate.
Step 7: Go inside and use your matches with the lamp.
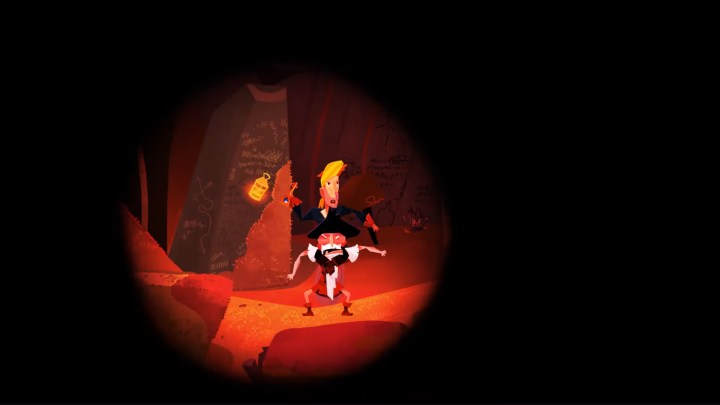
Step 8: Head right into the twisty passages.
Step 9: Walk through the tunnels until you find five pieces of paper.
Step 10: Examine the notes and follow the directions based on seasons (spring, summer, fall, winter, spring).
Step 11: When you get tot he pit of agony, jump in.
Step 12: After your lamp goes out, go back to LeShip.
Step 13: Travel back to LeChuck's ship and find Flambe sleeping.
Step 14: Use your lantern on him to light it.
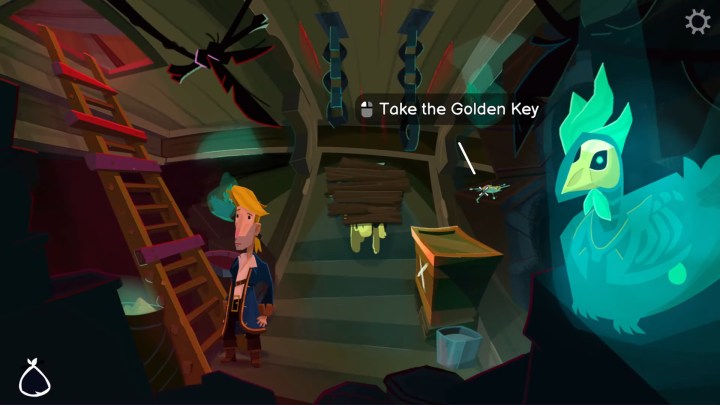
Step 15: Go into the hold.
Step 16: Grab the chicken feed and feed the ghost chicken.
Step 17: Leave and go back to the hold.
Step 18: The chicken will have ... passed ... the golden key.
How to get the Terror Island golden key
We're so close! Don't give up now!
Step 1: Sail back to Terror Island and all the way back to the pit.
Step 2: Go into the water (your lamp will stay lit) and go right.
Step 3: Talk to the old pirate and steal the key from him.
Editors' Recommendations
- How to get pets in Sea of Thieves
- How to get the glider in Rise of the Ronin
- All companions in Baldur’s Gate 3 and how to get them
- How to get Powdermelon in Stardew Valley
- How to solve the Arithmancy door puzzle in Hogwarts Legacy


